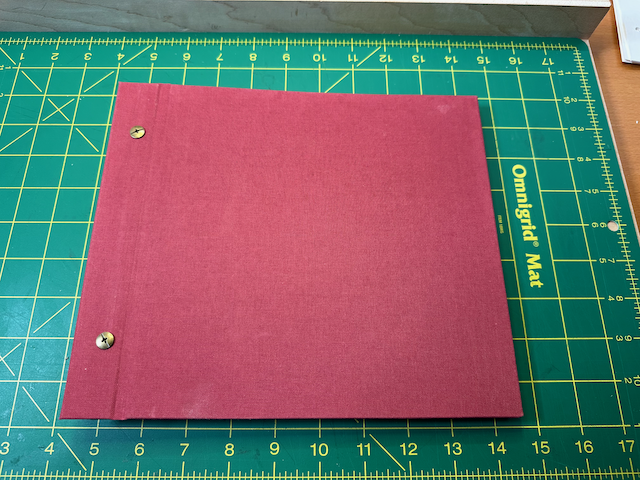
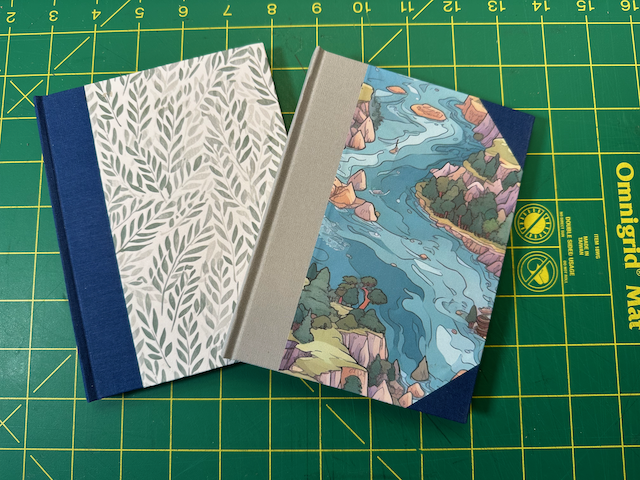
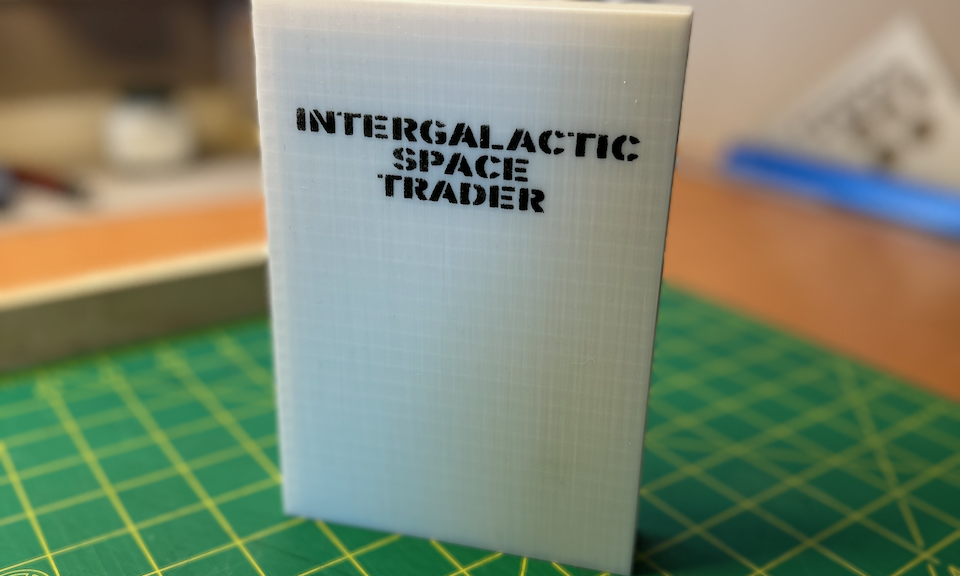
The 1.3 release of KeepItAll is now available in the iTunes App Store.
Users can now add existing photos of artwork from the iOS Photo Gallery.
The 1.2 release added the ability to upload artwork to Evernote.
The 1.3 release of KeepItAll is now available in the iTunes App Store.
Users can now add existing photos of artwork from the iOS Photo Gallery.
The 1.2 release added the ability to upload artwork to Evernote.
I love my iPad. I use it for everything. I read books, write scripts, read magazines, etc. I use mostly kindle books as they are portable to many different platforms. I am able to read books on my Mac, my iPhone, my iPad, etc. Even my kids TouchPads can read kindle books.
For the past year I have been subscribing to Videomaker magazine on the iPad. It has been nice to have all of my back issues with me so when I am out and about I can re-read any of them. But recently the magazine application has had problems. It started with some pages going blank. They would pop up then go pure white. Then they updated the app and it made it worse. I now can’t launch the app, let alone view back issues.
So suddenly all media is gone. And you have nothing. This is a very disturbing feeling. I am hoping that they fix it, but the one magazine really isn’t the issue. The scary thing is that in a moment all of your reference material can be gone.
It is a delicate balance, physical media lasts, but isn’t really portable. Digital media travels well, but can be gone in an instant. What to do?
Keep It All is now available in the iTunes App Store. The app allows you to save a photograph of all of the art that is given to you by your children. Now you don’t have to have that guilty feeling when you are tempted to throw away a treasured artwork of one of your children. You can save it and record when and which child made it. Keep It All will keep track of how old your child was when they made it for you.
Well my upgrade of WordPress didn’t go as well as I thought. All of the media was killed off. But I think that I have it running again.
Some of the basic functionality of PretzelFont.com has been restored. More will be coming over time as I migrate it to WordPress.
Unfortunately TraceBox was removed by Apple from the App Store due to the risk of potential damage to the iPad screens. I was trying to get out bug fixes at the time but this will now not be possible. All development on this application has now been halted.
I apologize for any inconvenience this has caused.
When making linoleum block prints, I like to start with a photograph that I have taken. In the past I used tracing paper on a printed photo, but I wanted to skip the printing of the photo and be able to go directly from my iPad to the tracing paper. I tried several existing photo editing software applications and found that the iPad’s screen is sensitive enough to pick up touches through the tracing paper. It made it very frustrating to always have to reposition the photo. So I gave up with that approach and wrote TraceBox. The current version of TraceBox is still fairly limited, but it will do the most important thing, hold the photo still while I trace onto the paper. The following example goes through the entire process of linoleum block printing from the beginning to the end.
Start TraceBox and select your photo. Click the Pick Tracing Photo button in the upper right to select your photo. Here is the photo that I have selected. After you have selected the photo and picked the desired orientation of the laptop you can then click the Lock Screen button in the upper left corner of the screen.
After you have selected and locked the screen you can tape a piece of tracing paper to the front of the iPad. Trim a piece of tracing paper to the size of the iPad Screen. I typically use Scotch Magic Tape, it sticks well but pulls up from the iPad case without any trouble. I put one or two pieces of the tape on the top (relative to your drawing layout) of the iPad. This lets me flip up the tracing paper to let me see any details that don’t come through the tracing paper well. It also lets me see where I have traced and where I haven’t.
Using a pencil (NOT A PEN – as it may bleed through and permanently mark your iPad) lightly trace the photo onto the tracing paper. Don’t use too much pressure to avoid damaging your iPad. I periodically flip up the tracing paper up to view details of the photo that don’t show through. It also lets me see areas that haven’t already been drawn on. In the bottom right corner of the tracing paper, I typically write “Positive” so that I can easily tell which side of the paper I wrote on. It also reminds me to flip the paper over before transferring it to a linoleum block.
I then flip the tracing paper over so that the “Positive” side is down against the linoleum block. I do this so that the final drawing will look like my original photo. If you desire to have the print opposite to the original you can hold the positive side up. I then bend down the edges of the paper and tape the tracing paper to the wooden portion of the linoleum block.
I then use a sharpie pen to go over the lines that I traced. Typically a sharpie will bleed through the paper and leave the image on the linoleum. Depending on the tracing paper, I sometimes only get a ghost line, and I have to flip up the paper to make it more visible. It takes a little longer, so check the transfer when you start so you don’t get all the way done and realize that it isn’t visible enough. I am using a thin point in the photo, but the regular tip has more ink and bleeds through easier.
You need to decide if you want to create a positive or a negative image. In a positive image you will carve away everything but the lines. The ink will then go on the lines and the lines will show up on the paper. To create a negative image we will carve away the lines. The ink will go where there aren’t any lines. The lines will be the color of the paper, and the ink will fill in everywhere else. You can note in the image to the left that the positive (Right) required much more carving of the linoleum than the negative (Left) did.
I decided to carve the lines to create a negative image. I used Speedball Number 1 and Number 2 V gouges to remove the linoleum. The number 2 large gouge gives the lines more width and depth and I favored it for this cut. I did some test prints to determine which lines needed to be wider and which were fine.
Using my brayer and ink plate, I rolled the ink evenly onto the block. I then pressed the paper to the block and made sure there was good contact on the whole surface. I then put the block and paper into the press and pressed it down. After about 5 seconds I pulled it out and removed the paper.
I needed about 5 test prints to get the right amount of ink onto the surface of the block. So plan on making a few mess ups.
Here is the final print using a red ink on white paper. I used the following Speedball products for this example and they can be found at this webpage.
Tags: Wood block
Dec 26
Posted by admintg in Presidential Briefs, Puppets | Comments off
Dec 4
Posted by admintg in Presidential Briefs, Puppets | Comments off
Leon and Bagrat discuss some of the political events for the week of December 3rd, 2011.
Tags: puppet
Nov 24
Posted by admintg in Presidential Briefs | Comments off
Arclite theme by digitalnature | powered by WordPress